
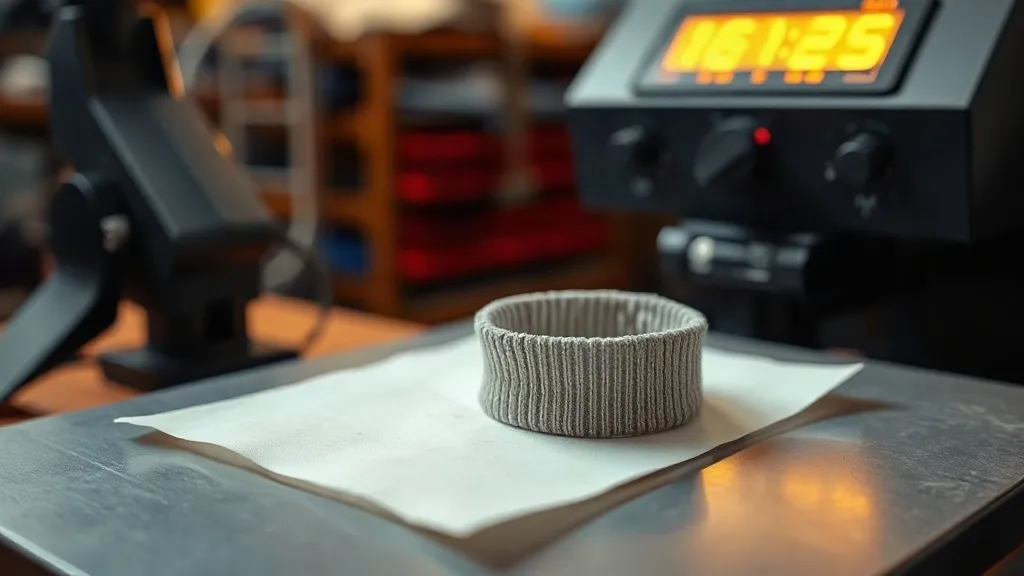
Ask any press operator which part of a garment gets the least attention during production and you will usually hear the same answer: the cuffs and the hem band. The front chest print gets inspected twice, photographed for the client, and handled with care. The little logo running around the wrist gets pressed last, on a Friday afternoon, by whoever is free. Then it comes back three weeks later with a cracked edge and a customer asking why the sleeve print fell apart while the chest print is still perfect.
Rib knit is a different animal from the jersey or fleece you press every day, and dtf transfers behave differently on it. This guide covers the practical side of pressing on cuffs, hem bands, collar ribs, and sleeve ends, with the settings and handling habits that keep small prints alive through repeated washing and stretching.
Why Rib Knit Punishes Careless Pressing
A standard t-shirt body is a relatively flat, stable surface. Rib knit is a series of alternating raised and recessed columns, and each column moves independently when the fabric stretches. That structure is exactly why cuffs grip and hem bands recover their shape, and it is also why a transfer bonded to the surface has to flex in ways a chest print never will.
Two failures show up again and again in shops that press rib knit without adjusting anything:
- Adhesive starvation in the valleys. The raised ribs contact the transfer film first. If pressure is too light, the film bonds to the peaks but never reaches the recessed channels between them, and those channels lift after the first wash.
- Over-stretch during loading. Pulling a cuff flat over the platen feels efficient, but the fabric relaxes the moment you let go. The print is now bonded to a stretched state, and the first time the wearer pulls the sleeve on, the adhesive line takes the strain.
Neither problem is dramatic in the moment. Both are obvious after five laundry cycles, which is when the customer emails you.
Prepping Cuffs and Hem Bands Before the Transfer Touches Them
Pre-press, do not just pre-heat
A quick two-second pass over a cuff does not remove the moisture that rib knit holds. Ribbed cotton and cotton-poly blends trap humidity in the recessed channels, and that moisture turns to steam under the press, creating the tiny bubbles and dull patches that look like a bad powder coat. Give ribbed areas a proper pre-press of five to eight seconds with medium pressure, then let the piece sit for a moment before you load the transfer.
Load without stretching
Slide the cuff or hem band over a small platen or a sleeve attachment and let it sit naturally. If you must smooth it, smooth with the flat of your hand, not by pulling the ends. A cuff that sits slightly loose is far safer than one stretched tight like a drum. For hem bands on heavier garments, a heat-resistant pad under the band helps keep the seam from creating a pressure ridge.
Watch the seam bulk
Most cuffs and hem bands have a folded seam running along one edge. That doubled fabric is thicker than the rest of the band and will absorb pressure unevenly. Position the seam away from the center of the print where possible, and if the design must cross it, add a thin silicone pad to level the surface. Uneven pressure is the single most common cause of partially bonded transfers on ribbed edges.
Press Settings That Actually Hold on Rib Knit
There is no universal number, because film manufacturers formulate adhesives differently and your platen temperature matters as much as your display. That said, the pattern for ribbed goods is consistent: slightly longer dwell, moderate pressure, and a genuine cold peel.
A starting point that works for most standard films on cotton and cotton-poly rib:
- Temperature: 300 to 320°F (150 to 160°C), verified with a temp gun on the platen surface, not the display.
- Pressure: medium. Enough that you feel resistance when you close the press, not enough to flatten the rib structure completely.
- Dwell: 12 to 15 seconds for the first press.
- Peel: cold. Let the garment cool fully, ideally on a cooling rack, before removing the film.
Those last two points matter more on rib knit than anywhere else. A warm peel on a stretched, springy surface pulls the adhesive before it has fully set. Cold peel gives the polymer time to lock into the valleys. If you are running a shop where every second counts, this is the one place to slow down.
For a second press after peeling, use a cover sheet or parchment and press for five to seven seconds at the same temperature. This re-melts the adhesive into the rib channels and is the step most operators skip. Skipping it is why some cuffs feel perfect on day one and gritty on day thirty.
Design Choices That Survive Rib Knit
Not every artwork belongs on a cuff. Heavy coverage designs, large solid blocks, and thick outlines all concentrate stress at the edges of the print, and rib knit flexes those edges constantly.
What works well:
- Text and small logos with clean, simple shapes.
- Line work with moderate stroke weight rather than hairline detail.
- Designs sized to sit within the flat center of the band, away from the folded edge.
What causes callbacks:
- Full-wrap designs that cross the seam and the fold.
- Very fine halftones, which lose definition when pressed into a textured surface.
- Large solid dark blocks on light rib, which show every pressure inconsistency.
If a client insists on a bold design for a cuff, consider a smaller placement on the outer wrist rather than wrapping the entire band. It presses flatter, looks intentional, and lasts.
Pressing Small Runs Without Losing Your Mind
Cuffs, collars, and hem bands are almost always small elements inside a larger order. A team kit might need forty chest prints and forty tiny sleeve logos, and the sleeve logos are the ones that eat your afternoon if you handle them one at a time.
Two workflow habits help. First, group all ribbed placements into a single pass through the press rather than interleaving them with body prints, so you are not constantly changing temperature and pressure. Second, use a small dedicated platen for cuffs and sleeve ends. Switching attachments between every garment costs more time than most operators realize.
If you source your film from a supplier that offers gangsheet layouts, ask whether small ribbed placements can be grouped onto one sheet. Shops searching for dtf transfers near me often focus on turnaround, but the bigger win is batching small elements so a forty-piece order does not turn into eighty individual press cycles. Consolidating tiny logos onto a shared sheet cuts film waste and keeps the whole job on one press setup.
Wash Testing: The Only Proof That Matters
Every claim about durability on rib knit should be verified on your own equipment with your own film. Before you commit a client order, press three or four sample cuffs and run them through a real wash cycle, inside out, warm water, tumble dry low. Then stretch each cuff ten or twelve times the way a wearer would when pulling a sleeve on.
Inspect the bond line at the edges of the print. If the adhesive is lifting in the valleys between ribs, your pressure was too light or your dwell too short. If the print feels stiff and the rib structure has flattened permanently, your pressure or temperature was too high. A good result feels like part of the fabric, not a plate sitting on top of it.
Keep notes on what worked. Rib knit varies enormously between suppliers, and a blank that presses beautifully at 310°F may need 320°F from a different mill. Your own log is worth more than any generic settings chart.
Frequently Asked Questions
Can I press dtf transfers on a fully assembled cuff without a special platen?
Yes, but you will get better results with a sleeve or cuff attachment. A standard platen forces you to stretch the band to keep it flat, which sets the adhesive on a distorted surface. A small attachment lets the cuff sit naturally and applies even pressure around the curve.
Why does my cuff print crack at the fold line even though the chest print is fine?
The fold line is where the fabric doubles over and takes the most mechanical stress. If your design crosses that fold, the adhesive has to survive constant bending. Move the placement inward, away from the fold, or reduce the design so it sits entirely on the flat section of the band.
Should I use a lower temperature for rib knit to protect the stretch?
Not lower, but controlled. Too low and the adhesive never reaches the recessed channels, which causes early lifting. Verify your platen temperature with a gun, hold a moderate dwell, and rely on cold peel and a second press to finish the bond rather than cranking the heat.
How do I price small ribbed placements that take almost as long as a chest print?
Price by press time, not by print area. A tiny cuff logo still requires loading, alignment, pressing, cooling, and peeling, so charging by square inch undervalues the work. Many shops set a minimum per placement and discount it when the client batches several ribbed elements into one order.
Do dtf transfers work on synthetic rib knit like poly-spandex cuffs?
They can, but the window is narrower. Synthetics and stretch blends are more heat sensitive, so lower the temperature slightly, shorten the dwell, and test on a spare cuff first. Very high stretch content may still show adhesive fatigue over time, so set expectations with the client before production.