
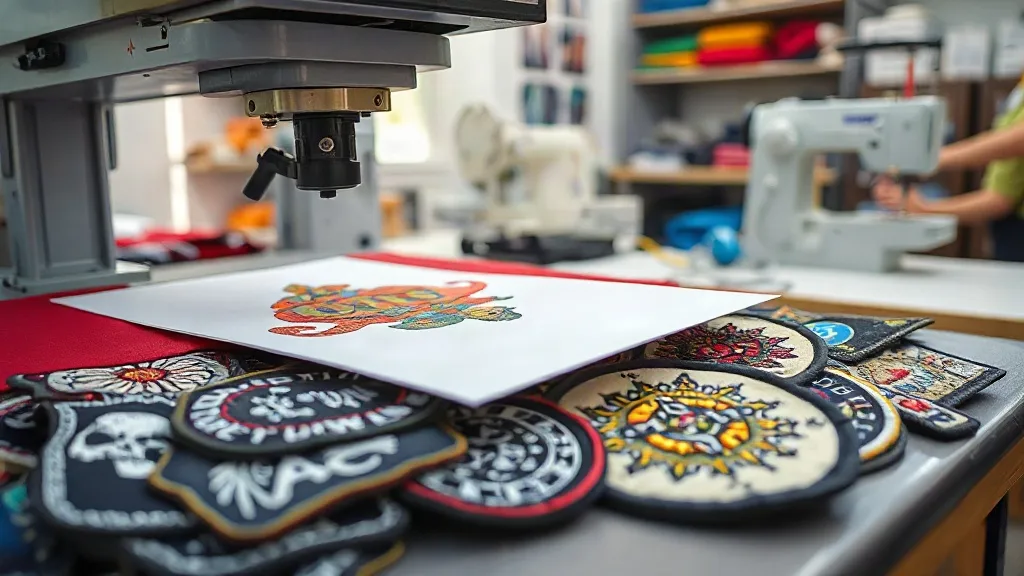
Embroidered patches have a timeless appeal. The raised threads, the tactile texture, the way light catches the stitch patterns. But traditional embroidery comes with real barriers: digitizing fees, minimum order quantities, and a production timeline that can stretch into weeks. For small shops and independent brands, that often means saying no to patch projects that could be profitable. What if you could replicate that embroidered look with dtf transfers? It sounds unlikely, but with the right design approach and a bit of testing, you can produce patches that read as embroidered from a normal viewing distance, without the overhead. This guide walks through the process, from artwork preparation to pressing, so you can add a convincing embroidered-look patch option to your offerings.
Why DTF for Embroidered-Look Patches?
DTF printing, or direct-to-film, involves printing a design onto a special film, applying a powder adhesive, and then transferring it to fabric with a heat press. The result is a soft, flexible print that bonds well to cotton, polyester, and blends. The key advantage for patches is that DTF can reproduce fine details, gradients, and even simulated textures. With the right design file, you can create the illusion of thread without a single stitch. That means no digitizing, no minimums, and the ability to produce one-off patches or short runs economically.
How DTF Compares to Traditional Embroidery
Traditional embroidery involves stitching thread into fabric, which creates a raised, textured surface. It's durable and premium, but it's also labor-intensive and requires specialized equipment. DTF transfers, by contrast, are printed and pressed. They can mimic the look of embroidery if the artwork includes stitch-like patterns and shading. The trade-off is that DTF patches are flat, not raised. However, for many applications, such as fashion patches, promotional items, or limited-edition drops, the visual effect is enough. And because DTF patches can be produced quickly and in small batches, they open up possibilities that embroidery can't match on turnaround or cost.
Designing Artwork That Mimics Embroidery
The success of an embroidered-look DTF patch hinges on the artwork. You're not actually stitching, so you need to create the illusion through design. Start with a vector or high-resolution raster image that includes stitch patterns, thread texture, and shading. Many designers use digital embroidery software to generate a stitch file, then export it as a high-res image to use for DTF printing. This approach gives you realistic stitch direction and density. Alternatively, you can create the effect manually in Illustrator or Photoshop using pattern brushes and texture overlays. The goal is to make the patch look like it's made of threads, not ink.
Key Elements of an Embroidered Look
- Stitch direction: Threads in embroidery typically run in specific directions to follow the shape of the design. Replicate this with angled lines or patterns.
- Thread texture: Add subtle noise or grain to simulate the fuzziness of thread. Avoid flat colors; use slight variations to suggest depth.
- Shading and highlights: Embroidery has raised areas that catch light. Use gradients and highlights to mimic this effect.
- Border: A stitched border, often a merrowed edge, is a hallmark of embroidered patches. You can simulate this with a thick, textured outline.
Once your artwork is ready, proof it on screen at actual size. What looks good zoomed in might lose detail when printed small. Also, consider the final patch size. Very small patches may lose the stitch effect, while larger ones can show more detail.
Choosing the Right Base Material
DTF transfers can be applied to a variety of fabrics, but for patches, you'll want a base material that provides stability and a professional feel. Common choices include twill, canvas, and denim. Twill is a popular base for embroidered patches because of its tight weave and durability. It also takes DTF transfers well. You can cut the base material to the desired shape before pressing, or press onto a larger piece and cut afterward. Pre-cutting is often easier for clean edges. Consider the color of the base: a white or light base will make the colors pop, while a dark base can create a different aesthetic. Test a few options to see what works best for your design.
Preparing the Patch Base
Cut your base fabric to the final patch shape, leaving a small margin if you plan to seal the edges later. For a professional finish, you can use a laser cutter or die-cut machine for precise shapes. If cutting by hand, sharp scissors or a rotary cutter work well. Before pressing, make sure the fabric is clean and dry. Pre-press for a few seconds to remove moisture and wrinkles. This step is crucial for good adhesion.
Pressing DTF Transfers onto Patch Bases
Pressing a DTF transfer onto a patch base is similar to pressing onto a shirt, but there are a few nuances. You'll need a heat press, preferably with a digital temperature control and pressure adjustment. Set the temperature according to the transfer supplier's recommendations, typically around 300-325°F (150-160°C). Pressure should be medium to firm, and you'll need a cover sheet or parchment paper to protect the transfer. Place the transfer face down on the base, cover, and press for 10-15 seconds. Then peel the film while it's still warm (or cold, depending on the film type). Always follow the specific instructions for your transfer.
Tips for Clean Edges
One challenge with DTF patches is achieving clean, sealed edges. The transfer film can extend beyond the base fabric, creating a plastic-like border. To avoid this, trim the transfer film closely to the design before pressing. Alternatively, use a transfer with a contoured cut. After pressing, you can use a heat gun or a small iron to seal the edges, but be careful not to melt the film. Another option is to apply a stitched border overlay by pressing a separate thin strip of DTF transfer around the edge. This not only hides the edge but also enhances the embroidered look.
Attaching Patches to Garments
Once your embroidered-look DTF patch is made, you need to attach it to the final product. There are several methods, each with pros and cons. The most common are sewing and heat-activated adhesive. Sewing is durable and traditional, but it requires a sewing machine and some skill. Heat-activated adhesive is faster and cleaner, but it may not hold up to heavy washing. For a hybrid approach, you can use a heat-activated adhesive backing and then sew around the perimeter for extra security. This also adds to the embroidered aesthetic if you use a matching thread.
Heat-Activated Adhesive Backing
To apply a heat-activated adhesive backing, you'll need a sheet of fusible web or a patch adhesive film. Cut it to the shape of your patch, place it on the back of the patch, and press with a heat press or iron. Then, when you're ready to attach the patch to a garment, position it and press again to bond. This method is quick and requires no sewing, but it's not permanent for all fabrics. Always test on a scrap first.
Durability and Care
DTF transfers are generally durable, but they can crack or fade over time if not cared for properly. To extend the life of your embroidered-look patches, advise customers to wash garments inside out in cold water and avoid harsh detergents. Tumble drying on low heat is acceptable, but air drying is better. Avoid ironing directly on the patch; if needed, use a pressing cloth. With proper care, DTF patches can last as long as the garment itself.
Selling Embroidered-Look DTF Patches
When marketing these patches, be transparent about the material. Call them "embroidered-look" or "faux embroidery" to set expectations. Highlight the advantages: no minimums, fast turnaround, and the ability to reproduce intricate designs. Many customers appreciate the cost savings and the speed. If you're looking for dtf transfers near me, you can find local suppliers or order online. For those new to DTF, start with a small test run to perfect your process before offering it to customers.
Frequently Asked Questions
Can DTF transfers really mimic embroidery?
Yes, with the right artwork. By incorporating stitch patterns, texture, and shading into your design, you can create a convincing embroidered look. It won't have the raised texture of real embroidery, but visually it can be very close.
What fabrics work best for DTF patch bases?
Tight-weave fabrics like twill, canvas, and denim are ideal because they provide a stable surface and take transfers well. Avoid stretchy or loosely woven fabrics unless you use a stabilizer.
How do I prevent the transfer film from showing at the edges?
Trim the transfer film close to the design before pressing. You can also use a contoured cut or add a stitched border overlay to hide the edges.
Are DTF patches washable?
Yes, when applied correctly and cared for properly. Wash inside out in cold water and avoid high heat. Following these guidelines will help maintain the patch's appearance.
Can I order small quantities of DTF patches?
Absolutely. One of the biggest advantages of DTF is that there are no minimum order quantities. You can produce a single patch or hundreds, making it perfect for small businesses and custom orders.