
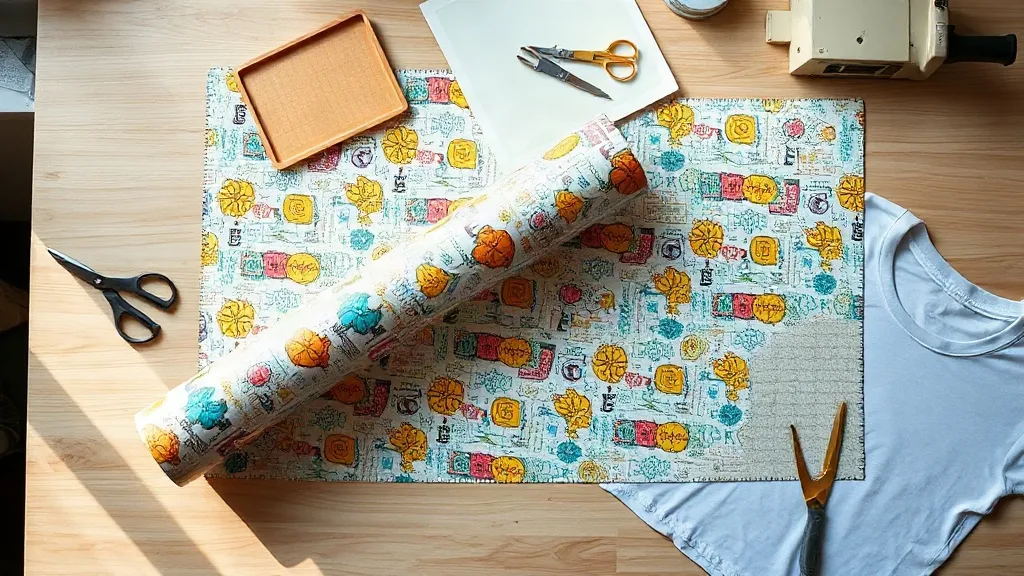
Most people who start printing t-shirts for a side business hit the same wall around order number thirty. Single transfers are convenient, but once you are paying per piece for every design, the math stops working. That is usually the moment a DTF Gangsheet enters the conversation, and it changes the economics of short runs more than any other single decision you will make in a print shop.
The idea itself is not complicated: instead of ordering one transfer per design, you build a single large sheet and fill it with as many designs as will fit. The printer prints that one sheet, cures it, and ships it as a roll. You cut the individual pieces yourself when you are ready to press. What sounds like a small logistical tweak turns out to have a big effect on cost per unit, storage, and how quickly you can say yes to a customer.
What a gangsheet actually is, in plain terms
A gang sheet is a print layout, not a product category. Think of it the way a screen printer thinks about ganging up multiple images on one screen to avoid wasting ink and mesh. With DTF, the film is the expensive real estate, so filling it edge to edge is the whole point.
You will typically see these sold by physical size rather than by design count. Common formats run from roughly 12 by 12 inches up to 22 by 60 inches or longer, with the long roll format being the most popular for anyone doing volume. The printer lays out your submitted artwork inside that boundary, nests the pieces as tightly as your file allows, and prints the whole thing in one pass.
Because the film is printed and powdered in one continuous run, the per-square-inch cost drops sharply compared to individual transfers. A single 3-inch chest logo ordered alone might cost a dollar or more. The same logo placed on a densely packed 22 by 60 sheet can land well under that, sometimes by a factor of three or four, depending on the shop and the ink coverage.
Why the format exists at all
DTF printing has fixed costs per job: loading film, setting up the printer, running the powder shaker, curing, and packaging. Those costs do not care whether you print one design or forty. Ganging designs amortizes the setup across everything on the sheet, which is why the format became the default for small and mid-size apparel operations almost immediately after DTF went mainstream.
Where a DTF gangsheet earns its keep
Not every job benefits from ganging. If you are printing five hundred identical shirts, a dedicated run or screen printing may still win on unit cost. The gang sheet format shines in a specific set of situations, and it is worth being honest about which ones apply to you.
- Mixed-size orders. A team order with youth smalls, adult larges, and a couple of 3XL pieces needs different print sizes. Ganging lets you place each size on the same sheet.
- Sample and proof runs. You want to show a client five colorways before they commit. Printing all five on one sheet costs less than ordering five separate transfers.
- Market and event inventory. Selling at a weekend market means carrying a wide range of designs in small quantities. A single roll of ganged transfers is far easier to transport than dozens of individual bags.
- Print-on-demand with a personal touch. Adding a name or number to a jersey usually means a tiny one-off print. Nesting those small elements into leftover sheet space keeps them viable.
What these have in common is variety at low volume. If your work is uniform and high volume, the gang sheet is not the tool you need.
The hidden benefit: inventory you can actually store
People underestimate this one. A roll of ganged transfers takes up a fraction of the shelf space that the equivalent number of finished garments would. You are storing potential rather than product, which means you can offer forty designs without tying up capital in forty boxes of shirts. For anyone working out of a spare room, that difference is not cosmetic.
Building a file that nests well
The single biggest factor in how much value you get from a sheet is your own artwork layout. Printers will often auto-nest for you, but the results vary, and a badly prepared file can waste twenty percent of the printable area without anyone noticing until the roll arrives.
Start with accurate dimensions
Measure the actual print size you need on the garment, not the design's on-screen size. A chest logo is usually between 3 and 4 inches wide. A full back print runs 11 to 13 inches. Getting these numbers right before you build the layout prevents the classic mistake of printing a back design that turns out to be two inches too small once it is on a shirt.
Leave real spacing between pieces
Transfers need a cutting margin. If designs sit flush against each other, you will either cut into a neighbor or leave a sliver of film that shows at the edge of the press. A gap of about 0.15 to 0.25 inches between pieces is a reasonable working rule, and a slightly wider margin around the outer edge of the sheet helps with handling.
Group by ink coverage
This is a subtle one that experienced operators learn quickly. Designs with heavy white underbases behave differently in the press than light, single-color line art. Grouping similar coverage together makes it easier to dial in press settings and gives you more consistent results across the sheet. It also helps you spot a bad transfer before it reaches a customer.
Rotate and interlock where it makes sense
Rectangular designs waste space when stacked in a plain grid. Rotating a piece ninety degrees to fill a leftover gap is free money. Just keep text and directional artwork upright in your final layout so you do not confuse yourself when cutting.
Sizing the sheet to your actual workflow
The temptation is always to buy the biggest sheet available because the per-inch price looks best. That logic only holds if you can use the space. A half-empty 22 by 60 roll is more expensive than a full 12 by 12 sheet.
A practical approach is to start with a mid-size format, build a few layouts, and see how much of the sheet you naturally fill. Most people doing two to five shirts a day settle into a long roll format within a month or two. People doing occasional personal projects are usually better served by smaller sheets they can use up completely.
Also consider how you will store the roll. Cured DTF film is fairly tolerant, but it prefers a cool, dry place away from direct sunlight. A dusty garage shelf is not ideal. A sealed bin in a climate-controlled room is.
The press settings that decide whether it lasts
A transfer is only as good as the press that applies it. The variables that matter most are temperature, pressure, time, and peel timing, and they interact more than most guides admit.
- Temperature. Most DTF films are designed for a press surface between 300 and 320 degrees Fahrenheit. Too low and the adhesive will not fully activate. Too high and you risk scorching the film or the garment.
- Pressure. Medium to firm, evenly distributed. A press with a worn platen or uneven pressure will produce edges that lift after a few washes.
- Time. Typically 10 to 15 seconds for the initial press, with a second press after the film is peeled, often with a cover sheet or parchment, for another 5 to 10 seconds.
- Peel timing. DTF is a cold or warm peel depending on the film. Follow the manufacturer's instruction, because peeling hot when the film calls for cold can distort fine details.
Pre-pressing the garment for a few seconds to remove moisture is not optional. Cotton holds ambient humidity, and that moisture turns to steam under the platen, which is one of the most common causes of a transfer that looks fine on day one and starts lifting after two washes.
Wash testing is not paranoia
Before you sell anything, press one transfer onto a scrap garment and run it through five wash cycles, inside out, with a normal detergent. Check the edges. If they are lifting, adjust pressure or time before you print a full run. This single habit will save you more money than any purchasing decision.
Common mistakes that eat into your margin
Most of the wasted money in DTF printing comes from a handful of repeatable errors. Worth knowing before you make them.
- Submitting low-resolution artwork. A design that looks crisp at 4 inches on screen may be soft at 12 inches on a shirt. Aim for 300 DPI at final print size.
- Ignoring the white underbase. DTF prints white behind every color. Designs with large transparent areas still consume white ink, which affects cost and press feel.
- Cutting too close. A tight cut leaves a visible film halo. A small, even border looks cleaner and presses flatter.
- Storing uncured or partly cured film. If the powder did not fully melt, the transfer will shed in the wash. Buy from a printer who cures properly and check the sheet when it arrives.
Frequently asked questions
How many designs fit on one gangsheet?
It depends entirely on the size of the designs. A 22 by 60 inch sheet might hold thirty small chest logos or as few as four full back prints. The practical answer is that you should build your layout first and let the sheet size follow, rather than buying a sheet and hoping everything fits.
Can I mix different garment colors on the same sheet?
Yes. The transfers are printed on clear film and are color-agnostic, so the same sheet can serve white, black, and colored garments. What you cannot mix is the print size, since the transfer is cut to a fixed dimension. Plan your size mix before you build the layout.
How long can I store a gangsheet before using it?
Most cured DTF film stays usable for six to twelve months when kept cool, dry, and out of direct light. Humidity is the enemy. If the film feels tacky or the powder looks clumped, test a piece on scrap before committing it to a customer order.
Is a gangsheet cheaper than ordering single transfers?
Per unit, almost always yes, provided you fill most of the sheet. The break-even point varies by printer, but as a rough guide, once you are using more than about sixty percent of the printable area, ganging beats individual orders on cost. Below that, you are paying for empty film.
Do I need special software to lay out a gangsheet?
No. Any vector or layout tool that lets you set exact dimensions will work, including free options. What matters is that you export at the correct physical size and at sufficient resolution. Many printers also offer an online builder where you drag designs onto a template, which is a reasonable starting point if you are new to the format.
Getting started without overbuying
The smartest first move is a single mid-size sheet with a handful of your best-selling designs, pressed onto scrap garments and wash tested before anything goes to a customer. That one exercise tells you more about your press settings, your artwork quality, and your real cost per unit than any amount of reading. From there, scale the sheet size to match what you actually fill, and let the format do the work of making small runs profitable again.