
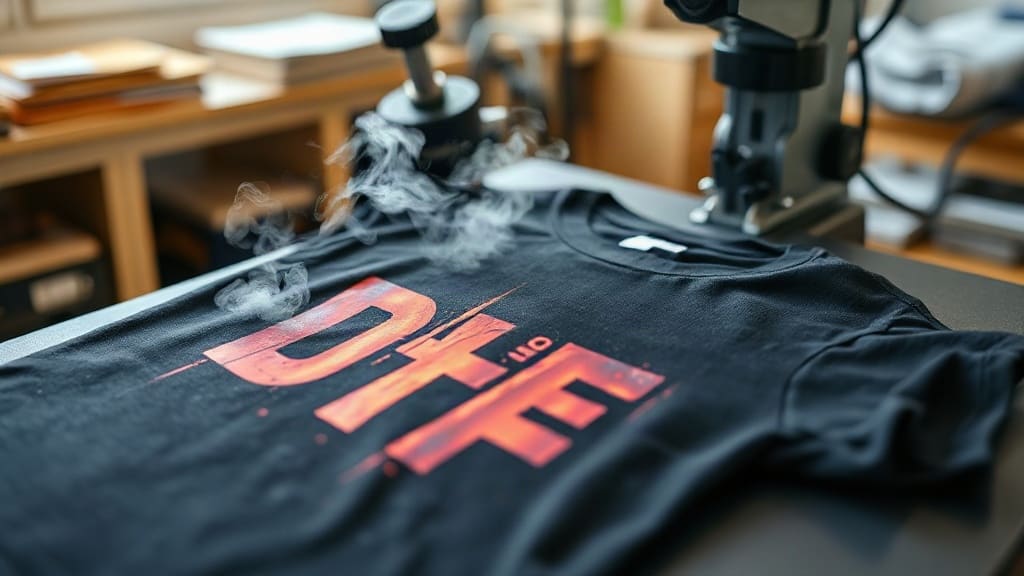
When you want to create custom t-shirts, hoodies, or tote bags, the printing method you choose makes all the difference. Among the many options, DTF transfers have quickly become a favorite for both beginners and professionals. But what exactly are they, and why are they gaining so much attention? In this guide, we'll dive deep into DTF transfers, covering everything from the basics to advanced application techniques, so you can achieve stunning, long-lasting results.
What Are DTF Transfers?
DTF stands for Direct to Film. It's a printing technology where your design is printed onto a special film, coated with a powder adhesive, and then heat-pressed onto fabric. Unlike DTG (Direct to Garment) or screen printing, DTF transfers don't require pretreating or specialized inks for different fabrics. The process involves printing with pigment-based inks onto a PET film, applying a hot melt powder, and curing it. The result is a flexible, vibrant transfer that can be applied to almost any fabric, including cotton, polyester, blends, and even leather.
Why Choose DTF Transfers?
There are several compelling reasons why DTF transfers stand out:
- Versatility: Works on a wide range of materials, including dark and light colors, without the need for multiple screens or pretreatments.
- Durability: When applied correctly, DTF prints resist cracking, peeling, and fading, even after multiple washes.
- Vibrant colors: The pigment inks produce bright, opaque colors, making them ideal for complex, multi-color designs.
- Cost-effective for small batches: No minimum order quantities, making it perfect for one-off custom items or small businesses.
- Soft feel: Unlike some other methods, DTF transfers have a relatively soft hand feel, especially when compared to vinyl.
How to Apply DTF Transfers
Applying DTF transfers is straightforward, but following the correct steps ensures a professional, long-lasting result.
Step 1: Prepare Your Materials
You'll need a heat press, your DTF transfer, and the garment. Preheat your heat press to the recommended temperature, typically between 325°F and 375°F (160°C - 190°C). Set the pressure to medium-high, around 4-6 on a scale of 1-10. Also, pre-press the garment for a few seconds to remove moisture and wrinkles.
Step 2: Position the Transfer
Place the DTF transfer onto the garment with the printed side facing up. If your transfer has a white backing, that's the side that goes against the fabric. Use heat-resistant tape if needed to keep it in place.
Step 3: Press the Transfer
Cover the transfer with a Teflon sheet or parchment paper. Press for 10-15 seconds with firm pressure. The exact time may vary depending on your press and the film manufacturer's instructions, so always test first.
Step 4: Peel and Post-Press
After pressing, allow the transfer to cool completely before peeling off the film. This is called a cold peel. Once peeled, cover the design again and press for an additional 5-10 seconds to fully cure the adhesive. This step enhances durability.
Common Mistakes to Avoid
Even though DTF transfers are forgiving, some common pitfalls can ruin your project:
- Insufficient pressure: Leads to poor adhesion and early peeling.
- Wrong temperature: Too low and the adhesive won't activate; too high and the film may melt or the ink may scorch.
- Peeling too soon: Always wait for the transfer to cool; peeling while hot can distort the design.
- Not pre-pressing: Moisture in the fabric can cause steam and uneven adhesion.
DTF vs. Other Printing Methods
How does DTF compare to DTG, screen printing, and vinyl? Here's a quick breakdown:
- DTG: Best for 100% cotton, but requires pretreatment and can be less vibrant on dark shirts. DTF excels on both cotton and polyester, with no pretreatment.
- Screen Printing: Cost-effective for large orders, but setup costs are high for small batches. DTF has no minimums and handles complex designs easily.
- Vinyl: Great for simple text and shapes, but limited in color and detail. DTF can reproduce full-color images with gradients.
Tips for Long-Lasting DTF Prints
To ensure your DTF transfers withstand the test of time, follow these care tips:
- Wash the garment inside out in cold water.
- Avoid fabric softeners and bleach.
- Tumble dry on low or hang dry.
- Iron on the reverse side, never directly on the print.
Frequently Asked Questions
Can I use DTF transfers on polyester?
Yes, DTF transfers work exceptionally well on polyester and polyester blends. The low-temperature application and flexible adhesive prevent dye migration and ensure a strong bond.
How long do DTF transfers last?
With proper application and care, DTF transfers can last as long as the garment itself, often exceeding 50 washes without significant fading or cracking.
Do I need a special printer for DTF?
Yes, DTF printing requires a dedicated DTF printer that uses pigment inks and a film feeding system. However, you can purchase pre-printed DTF transfers from suppliers if you don't want to invest in a printer.
What's the difference between DTF and DTG?
DTF involves printing on film and transferring, while DTG prints directly onto the garment. DTF is more versatile across fabrics and doesn't require pretreatment, but DTG can be more cost-effective for 100% cotton in large quantities.
Can I stretch DTF prints?
DTF transfers have some stretchability, but they are not as elastic as the fabric itself. For stretchy fabrics like spandex, use a transfer with a higher elasticity or apply with lower pressure to avoid cracking.
Whether you're a hobbyist or a business owner, DTF transfers offer a powerful way to bring your designs to life on a variety of garments. With the right techniques and a bit of practice, you'll be creating professional-quality custom apparel in no time.