
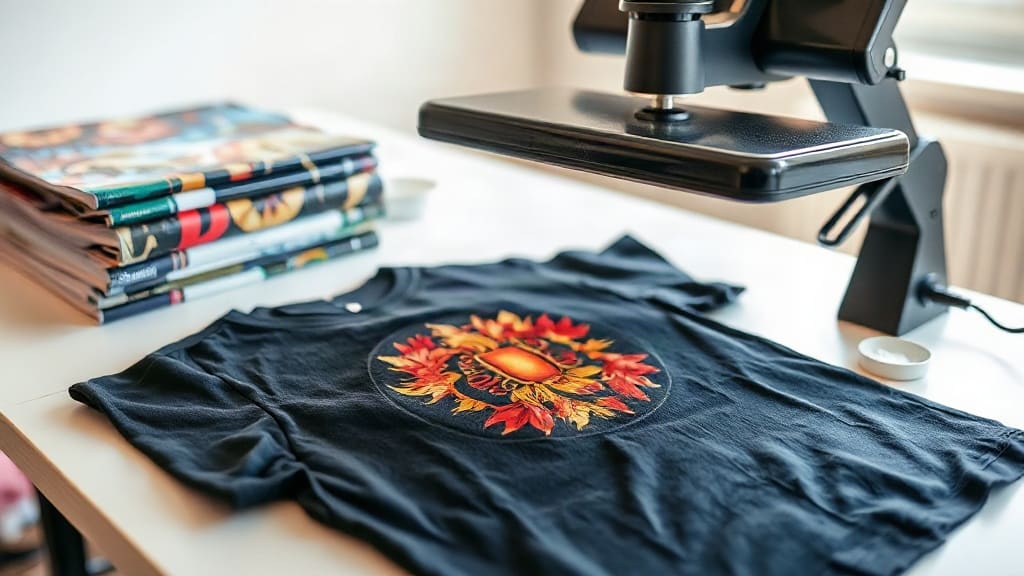
When you want to create custom apparel that stands out, the printing method you choose makes all the difference. Among the many options available, DTF transfers have quickly become a favorite for both hobbyists and professionals. Unlike traditional methods that limit you to certain fabrics or colors, DTF transfers open up a world of possibilities. Whether you're printing on cotton, polyester, or blends, these transfers deliver vibrant, long-lasting results. In this guide, I'll walk you through everything you need to know about DTF transfers, from how they work to tips for flawless application. By the end, you'll be ready to tackle your own projects with confidence.
What Are DTF Transfers?
DTF stands for Direct to Film. It's a printing technology where your design is printed onto a special film, coated with a powdered adhesive, and then heat-pressed onto your garment. The magic happens because the adhesive bonds the ink to the fabric, creating a soft, stretchable print that feels like part of the shirt. Unlike DTG (Direct to Garment) or screen printing, DTF transfers don't require pretreating or specialized equipment. You can use a standard heat press and a desktop printer modified for DTF inks. This accessibility has made DTF a game-changer for small businesses and DIY enthusiasts.
The Science Behind the Print
The process involves several key components: a PET film, water-based pigment inks, and a thermoplastic adhesive powder. When you print your design, the printer lays down a layer of white ink first (if needed), followed by CMYK colors. The film is then dusted with adhesive powder, which sticks to the wet ink. After shaking off the excess, you cure the powder with a heat source. This creates a transfer that can be stored for months. When you're ready, you heat-press it onto your fabric. The adhesive melts, bonding the ink to the fibers. The result is a durable, flexible print that withstands repeated washing.
Why Choose DTF Transfers Over Other Methods?
If you're wondering whether DTF is right for you, consider these advantages:
- Fabric versatility: Works on cotton, polyester, nylon, leather, and even treated wood. No need for different inks or pretreatments.
- No color restrictions: You can print on dark garments without a white underbase manually. The white ink layer is built into the transfer.
- Cost-effective for small runs: Unlike screen printing, which requires separate screens per color, DTF is ideal for one-offs or small batches.
- Soft hand feel: The prints are thin and stretch with the fabric, avoiding the plastic-like texture of some heat transfers.
- Durability: When applied correctly, DTF prints outlast vinyl and can endure 50+ washes without fading or cracking.
However, DTF isn't perfect for every scenario. For large orders of simple designs, screen printing might be more economical. Also, DTF requires a good printer and consistent maintenance. But for most custom apparel needs, the benefits outweigh the drawbacks.
How to Apply DTF Transfers: Step-by-Step
Applying a DTF transfer is straightforward, but attention to detail ensures a professional finish. Here's my tried-and-true method:
- Preheat your heat press: Set the temperature to 325°F (160°C) for most fabrics. For heat-sensitive materials like nylon, lower to 300°F (150°C).
- Pre-press the garment: This removes moisture and wrinkles. Press for 5-10 seconds.
- Position the transfer: Place the DTF film on the garment with the printed side facing up. If your design has fine details, use heat-resistant tape to hold it in place.
- Press: Apply medium to firm pressure for 15-20 seconds. Use a Teflon sheet or parchment paper over the transfer to protect it.
- Peel: Wait 10-15 seconds, then peel the film off in a smooth, continuous motion. For a matte finish, peel while hot; for glossy, wait until cool.
- Post-press: Cover the design with parchment and press again for 5-10 seconds to enhance adhesion.
Always test on a scrap piece first to dial in your press settings. Different fabrics may require slight adjustments.
Common Mistakes to Avoid
Even experienced crafters slip up sometimes. Watch out for these pitfalls:
- Insufficient pressure: If the transfer doesn't stick, increase pressure. The adhesive needs to penetrate the fabric.
- Too much heat: This can scorch the fabric or cause the ink to bleed. Always check the fabric's heat tolerance.
- Peeling too soon or too late: Follow the recommended peel timing for your film type. Most DTF films are cold peel, but some are hot peel.
- Not pre-pressing: Skipping this step can lead to moisture trapped under the transfer, causing bubbles or poor adhesion.
Choosing the Right DTF Supplies
Not all DTF supplies are created equal. The quality of your film, ink, and powder directly impacts the final result. Here's what to look for:
DTF Film
Opt for double-sided matte film. It provides better ink absorption and prevents curling. Thicker films (75-100 microns) are easier to handle, while thinner films (50-75 microns) give a softer feel. Brands like Supacolor and DTF Station are reliable, but many generic options work well if you test them.
DTF Ink
Use high-quality water-based pigment inks designed specifically for DTF. They should have a wide color gamut and excellent opacity, especially for white. Cheap inks may clog your printhead or fade quickly. I recommend buying from established suppliers and storing inks in a cool, dark place.
Adhesive Powder
The powder is the unsung hero of DTF. It comes in fine and coarse grades. Fine powder (80-200 microns) is best for detailed designs, while coarse powder (200-300 microns) provides stronger adhesion for large blocks of color. Some powders are designed for low-temperature application, which is great for delicate fabrics.
DTF Transfers vs. Other Printing Methods
To help you decide, here's a quick comparison:
- DTF vs. DTG: DTG requires pretreating and works best on 100% cotton. DTF works on almost any fabric and doesn't need pretreatment. DTF prints are more durable on polyester.
- DTF vs. Vinyl: Vinyl is great for simple, single-color designs but can't handle gradients or photographic images. DTF excels at complex, full-color artwork.
- DTF vs. Screen Printing: Screen printing is cost-effective for large orders of simple designs. DTF is more flexible for small runs and detailed graphics.
- DTF vs. Sublimation: Sublimation only works on light-colored polyester and requires special coatings. DTF works on dark cotton and blends.
Each method has its place, but DTF's versatility makes it a strong contender for most custom apparel projects.
Caring for Your DTF-Printed Apparel
To keep your DTF transfers looking fresh, follow these care instructions:
- Wait 24 hours before the first wash to allow the adhesive to fully cure.
- Turn the garment inside out before washing.
- Use cold water and a gentle cycle.
- Avoid fabric softeners and bleach, which can degrade the adhesive.
- Tumble dry on low or hang dry. High heat can cause cracking.
- Iron on the reverse side or use a pressing cloth. Never iron directly on the print.
With proper care, your DTF prints can last as long as the garment itself.
Frequently Asked Questions About DTF Transfers
Can I use DTF transfers on 100% polyester?
Absolutely. DTF transfers adhere well to polyester, but you should lower the press temperature to around 300°F (150°C) to prevent the fabric from scorching or the print from becoming too glossy. Always test a small area first.
How long do DTF transfers last?
When applied correctly and cared for properly, DTF transfers can last 50 or more washes without significant fading, cracking, or peeling. The key is using quality supplies and following the right application steps.
Do I need a special printer for DTF?
You can convert a standard inkjet printer (like an Epson EcoTank) to use DTF inks with a DTF conversion kit. However, dedicated DTF printers offer better reliability and print quality. If you're serious about DTF, investing in a dedicated printer is worth it.
Can I layer DTF transfers?
Yes, you can layer DTF transfers to create multi-dimensional designs. Just press the first transfer, peel, then apply the second on top. Use a lower temperature for the second press to avoid disturbing the first layer.
What's the best way to store unused DTF transfers?
Store them in a cool, dry place away from direct sunlight. Keep them flat in a sealed bag or folder to prevent dust and moisture from affecting the adhesive. Properly stored transfers can last 6-12 months.
DTF transfers have democratized custom apparel printing, allowing anyone to create professional-grade garments from home. With the right knowledge and a bit of practice, you'll be producing stunning, durable prints in no time. So go ahead, experiment, and let your creativity shine.