
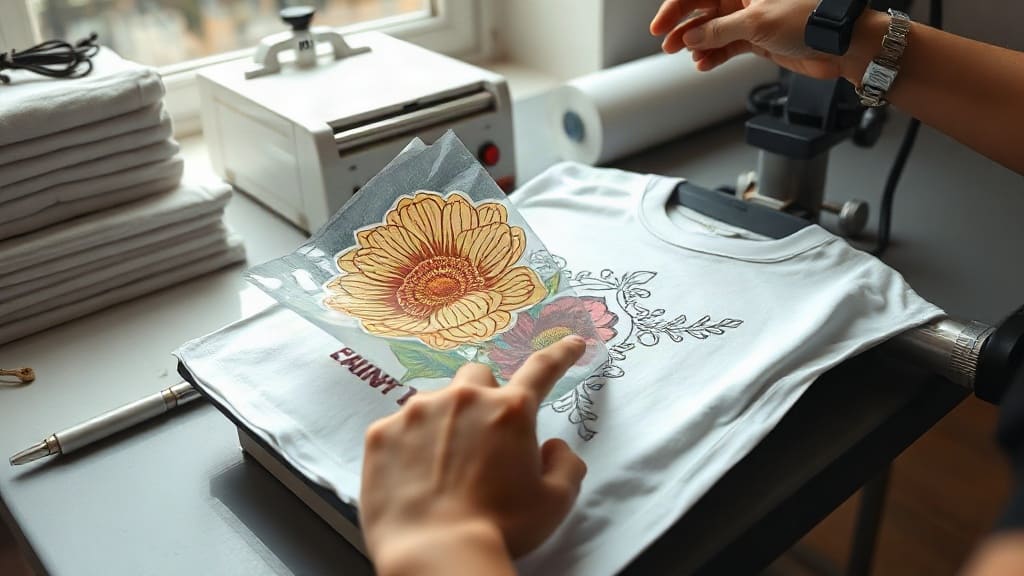
If you've been searching for a printing method that works on almost any fabric without the hassle of weeding or color limitations, DTF transfers might be exactly what you need. Unlike traditional heat transfer vinyl (HTV) that requires precise cutting and weeding, DTF transfers are pre-printed designs that you simply press onto your garment. The result? Stunning, full-color images that stretch and flex with the fabric, standing up to repeated wear and washing. In this guide, we'll walk you through everything you need to know about DTF transfers, from the science behind them to pro tips for flawless application.
What Are DTF Transfers?
DTF stands for Direct-to-Film. It's a printing technology where your design is printed onto a special PET film using water-based inks, then coated with a hot-melt adhesive powder. When you apply heat and pressure, the adhesive melts and bonds the ink to the fabric. The film is then peeled away, leaving a vibrant, soft-to-the-touch print that's incredibly durable.
Unlike DTG (Direct-to-Garment) printing, which requires the garment to be pre-treated and works best on 100% cotton, DTF transfers can be applied to a wide range of materials, including polyester, blends, and even leather. This versatility makes them a favorite among crafters, small business owners, and anyone looking to create custom apparel without investing in expensive equipment.
Why Choose DTF Transfers Over Other Methods?
There are several printing methods out there, each with its own strengths and weaknesses. Here's why DTF transfers often come out on top:
- No color restrictions: You can print full-color, photographic-quality images with gradients and fine details. No need to layer multiple vinyl colors.
- Works on almost any fabric: Cotton, polyester, blends, nylon, leather, and more. You're not limited to just cotton like with DTG.
- No weeding required: Forget the tedious process of cutting and weeding vinyl. DTF transfers arrive ready to press.
- Durable and stretchable: The prints flex with the fabric, so they won't crack or peel easily, even on stretchy materials.
- Cost-effective for small batches: You can order as few as one transfer, making it ideal for custom orders or sampling.
How DTF Transfers Are Made
Understanding the production process helps you appreciate why DTF prints perform so well. Here's a simplified breakdown:
- Design preparation: Your artwork is loaded into specialized RIP software that optimizes it for printing, ensuring accurate colors and crisp edges.
- Printing: A DTF printer lays down a layer of white ink (for opacity) followed by CMYK inks onto the PET film. The white layer is crucial for vibrant colors on dark fabrics.
- Powdering: While the ink is still wet, a hot-melt adhesive powder is sprinkled over the print. The excess powder is shaken off.
- Curing: The film passes through a heat source (often a tunnel oven) to melt the powder and cure the ink. This creates a flexible, adhesive layer.
- Packaging: The cured transfers are cut to size and shipped to you, ready to apply.
How to Apply DTF Transfers: Step-by-Step
Applying DTF transfers is straightforward, but following the right steps ensures a professional, long-lasting result. Here's what you need:
- A heat press (or an iron with careful technique)
- Your DTF transfer
- Your garment (pre-washed if possible to minimize shrinkage)
- Parchment paper or a Teflon sheet
Step 1: Preheat Your Heat Press
Set your heat press to 325°F (160°C). If you're using an iron, set it to the highest cotton setting with no steam. Allow it to fully heat up.
Step 2: Pre-Press the Garment
Place your garment on the press and press for 5-10 seconds. This removes moisture and wrinkles, creating a smooth surface for the transfer.
Step 3: Position the Transfer
Place the DTF transfer on the garment with the printed side facing up (the design should be readable). If you're unsure, the adhesive side (which feels slightly tacky) goes against the fabric.
Step 4: Apply Heat and Pressure
Cover the transfer with parchment paper or a Teflon sheet. Press with medium to firm pressure for 15-20 seconds. For an iron, use firm pressure and move slowly, ensuring even heat.
Step 5: Peel the Film
DTF transfers can be peeled either hot or cold, but most manufacturers recommend waiting a few seconds for it to cool slightly (warm peel). Slowly peel the film away from one corner. If the design lifts, press again for a few more seconds.
Step 6: Post-Press for Durability
For extra durability, cover the design with parchment paper and press again for 5-10 seconds. This helps the adhesive fully bond with the fabric.
Tips for Best Results
- Choose the right fabric: While DTF works on many materials, 100% cotton and cotton/poly blends yield the softest feel. On synthetics, use lower temperatures to avoid scorching.
- Test your settings: Every heat press is different. Do a test press on a scrap piece of fabric to dial in temperature, pressure, and time.
- Store transfers properly: Keep unused DTF transfers in a cool, dry place, away from direct sunlight. They can last for months if stored correctly.
- Wash inside out: To prolong the life of your print, wash garments inside out in cold water and tumble dry low or hang dry.
Common Mistakes to Avoid
Even experienced crafters can run into issues. Here are a few pitfalls to watch out for:
- Insufficient pressure: Without enough pressure, the adhesive won't fully penetrate the fabric, leading to premature peeling.
- Too much heat: Overheating can cause the film to shrivel or the ink to discolor. Stick to the recommended temperature.
- Peeling too soon: If you peel while the transfer is still very hot, the design may stretch or tear. Wait a few seconds.
- Using the wrong side: Always ensure the printed side is facing up. If you press the wrong side, the design will transfer onto your parchment paper instead of the garment.
Frequently Asked Questions About DTF Transfers
Can I use DTF transfers on dark-colored shirts?
Absolutely! DTF transfers include a white ink layer that acts as a base, allowing vibrant colors to show up beautifully on dark fabrics. This is one of the biggest advantages over other methods.
How long do DTF transfers last?
With proper application and care, DTF transfers can last as long as the garment itself. They resist cracking, peeling, and fading through many washes. Following the washing instructions is key to maximizing longevity.
Do I need a commercial heat press for DTF transfers?
While a commercial heat press gives the most consistent results, you can use a home iron. However, it's trickier to achieve even pressure and temperature. If you plan to do many transfers, investing in a heat press is worthwhile.
What fabrics work best with DTF transfers?
DTF transfers adhere well to cotton, polyester, cotton-poly blends, nylon, and leather. They are not recommended for fabrics with a heavy waterproof coating or those that cannot withstand heat.
Can I layer DTF transfers?
Yes, you can layer DTF transfers, but it's best to apply them one at a time. Press the first transfer, peel, then apply the second on top. This ensures each layer bonds properly.
Whether you're running a custom apparel business or just want to create unique gifts, DTF transfers offer a versatile, durable, and vibrant solution. With the right technique and a bit of practice, you'll be producing professional-quality prints in no time.