
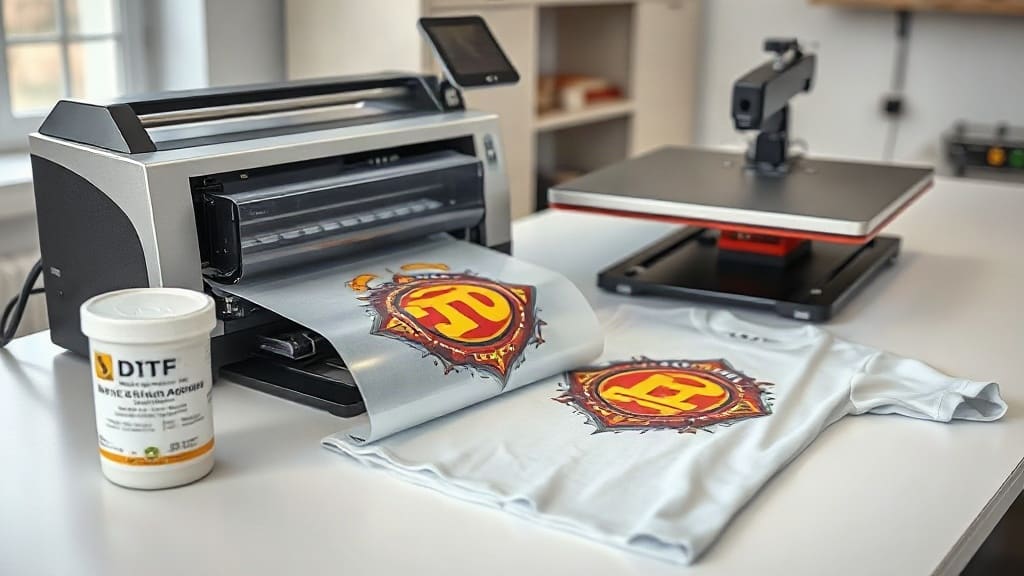
Direct-to-film (DTF) printing has quickly become a favorite among crafters and small business owners for its versatility and vibrant results. Unlike other methods that require specific fabric blends, DTF transfers adhere beautifully to cotton, polyester, and everything in between. If you're new to this technology, this guide will walk you through the entire process, from design to finished product, with practical tips to avoid common pitfalls.
What Exactly Is DTF Printing?
DTF stands for direct-to-film. In this digital printing method, your design is printed onto a special PET film using a DTF printer and water-based pigment inks. While the ink is still wet, a thermoplastic powder (often called hot-melt adhesive) is applied over the print. After shaking off the excess, the film is cured in an oven or with a heat press. The resulting transfer can be stored for later use or applied immediately to a garment with a heat press. The magic lies in the adhesive powder, which bonds the ink to the fabric, creating a stretchable, crack-resistant print.
Why Choose DTF Over Other Printing Methods?
DTF offers several advantages that make it a go-to for many print shops. First, there's no need to pretreat shirts, which saves time and mess. Second, it works on a huge range of materials: cotton, polyester, blends, leather, and even some plastics. Third, the prints are incredibly durable, withstanding dozens of washes without fading or peeling. And because you can print and cut any design, it's perfect for small batches, personalized items, and intricate artwork that would be difficult with screen printing.
Essential Supplies for DTF Printing
Before you dive in, gather these key supplies:
- DTF printer with pigment inks (or a converted inkjet printer)
- DTF film (usually 13" x 19" or rolls)
- Hot-melt adhesive powder (fine or medium grade)
- Heat press or curing oven
- Heat-resistant tape and parchment paper
- Weeding tools (optional, for trimming)
Quality supplies matter. Cheap film can cause ink bleeding, and low-grade powder may not adhere properly. Invest in reputable brands to ensure consistent results.
Step-by-Step DTF Printing Process
1. Prepare Your Artwork
Start with a high-resolution image (300 DPI) in CMYK color mode. If your design has white areas, you'll need to create a white ink layer underneath the color layers. Most RIP software handles this automatically, but always preview the white layer to avoid gaps. Mirror the image horizontally before printing, as you'll be transferring it face-down.
2. Print on DTF Film
Load the film into your printer with the coated side facing up. Print the design using the appropriate settings for DTF film. The printer will lay down white ink first, then color inks on top. Some printers also print a final white layer to protect the colors. Allow the print to sit for a minute; the ink should be tacky but not dry.
3. Apply Adhesive Powder
Pour a generous amount of hot-melt powder over the wet print. Use a spoon or a powder shaker to cover it completely. Then, tilt the film and gently shake off the excess powder back into the container. You want an even, thin layer of powder stuck to the ink. Any clumps or bare spots will affect adhesion.
4. Cure the Powder
Curing melts the powder into a smooth, clear adhesive layer. You can use a heat press set to 300°F (150°C) for about 2-3 minutes, or a curing oven at the same temperature for 3-5 minutes. The film will curl slightly and the powder will turn glossy. Do not over-cure, as it can make the transfer brittle. Let it cool completely before peeling.
5. Press onto Your Garment
Preheat your heat press to 325°F (160°C) with medium pressure. Place the garment on the press, then position the DTF transfer face-down. Cover with parchment paper. Press for 15-20 seconds. Remove the parchment and let the transfer cool for a few seconds, then peel the film off in a smooth, continuous motion. If any part lifts, press again for a few seconds.
Common DTF Problems and How to Fix Them
Even with experience, issues can arise. Here are quick fixes:
- Ink bleeding: Too much ink or low-quality film. Reduce ink density or switch film.
- Powder not sticking: Ink too dry. Print and powder immediately, or increase humidity.
- Transfer peeling after wash: Under-cured powder or insufficient pressure during pressing. Increase curing time or pressure.
- Dull colors: Over-curing or wrong powder. Use a finer powder and cure at lower temperature for longer.
Tips for Long-Lasting DTF Prints
To ensure your prints survive repeated washing, follow these best practices:
- Wash garments inside out in cold water.
- Avoid fabric softeners and bleach.
- Tumble dry low or hang dry.
- Iron on low heat, never directly on the print.
Also, store unused transfers in a cool, dry place away from direct sunlight. They can last for months if protected from moisture and dust.
Frequently Asked Questions
Can I use DTF on dark shirts?
Absolutely. DTF printing includes a white ink base that makes colors pop on dark fabrics. Just ensure your design has a proper white layer underneath the colors.
How do I choose the right DTF film?
Look for film that is compatible with your printer and ink type. Generally, double-sided matte film works well for DTF. Thicker films (75-100 microns) are easier to handle and reduce curling.
What temperature should I cure DTF powder?
The ideal curing temperature is around 300°F (150°C). However, always check the powder manufacturer's recommendations, as some may require slightly higher or lower temperatures.
Can I layer DTF transfers?
Yes, you can layer multiple transfers for a multi-color effect. Press the first transfer, peel, then press the second on top, slightly overlapping. Use a heat press for each layer.
How long do DTF transfers last?
With proper washing and care, DTF prints can last 50+ washes without significant fading or cracking. Following the care instructions will maximize longevity.
DTF printing opens up a world of possibilities for custom apparel. With a bit of practice and attention to detail, you'll be producing professional-quality transfers in no time. Remember, the key is in the powder application and curing; master those steps, and you'll be rewarded with vibrant, durable prints that impress your customers.